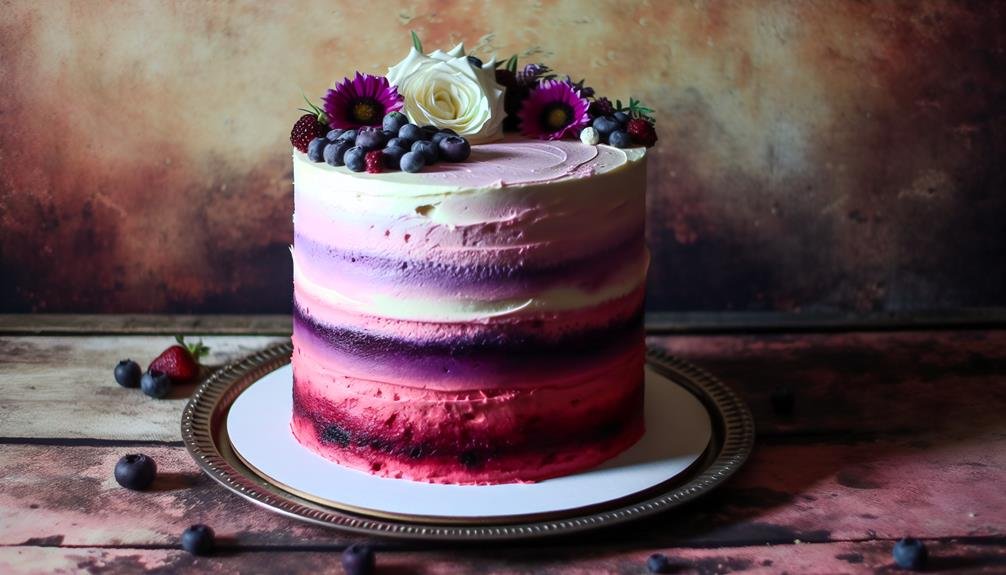
When you think about creating a show-stopping dessert, the Ombre Layer Cake might come to mind. You’ll find that its striking gradient of colors can elevate any celebration, and it’s easier to make than you might expect. As you layer the tinted batter and frost it with a light vanilla cream, you’ll realize the cake’s beauty is just as important as its taste. But before you jump into the baking process, consider a few essential tips that can make all the difference in achieving that perfect ombre effect.
Ingredients
Gathering your ingredients is the first step to creating a stunning ombre layer cake.
You’ll need all-purpose flour, granulated sugar, unsalted butter, eggs, and vanilla extract for the cake batter. Don’t forget baking powder and salt to ensure your layers rise perfectly.
For the ombre effect, you’ll want a selection of food coloring. Choose at least three shades that blend well together, like pink, purple, and white. This will create a beautiful gradient when you stack your layers.
Now, let’s talk frosting. You’ll need heavy cream, powdered sugar, and more vanilla extract to whip up a light and fluffy frosting. You can add a splash of food coloring here too if you want to match the layers.
Lastly, prepare some simple syrup to keep your cake moist and flavorful. Just sugar and water heated until dissolved will do the trick.
Make sure to have parchment paper, cake pans, and a cooling rack ready, too.
With these ingredients in hand, you’re all set to create a stunning ombre layer cake that’s bound to impress!
Instructions
To begin crafting your ombre layer cake, preheat your oven to 350°F (175°C) and prepare your cake pans by greasing them and lining the bottoms with parchment paper.
In a large mixing bowl, cream together the butter and sugar until it’s light and fluffy. This should take about 3-5 minutes. Then, add the eggs one at a time, mixing well after each addition. Next, stir in the vanilla extract.
In another bowl, combine the dry ingredients: flour, baking powder, and salt. Gradually add this dry mixture to the wet ingredients, alternating with the milk, until everything is just combined.
Divide the batter evenly into separate bowls for each color layer. Tint each bowl with food coloring to create your desired ombre effect, starting with the lightest color.
Pour each color into the prepared cake pans, starting with the lightest and working your way to the darkest. Bake in the preheated oven for about 25-30 minutes, or until a toothpick inserted in the center comes out clean.
Allow the cakes to cool in the pans for 10 minutes before transferring them to wire racks to cool completely.
Notes
When making your ombre layer cake, keep a few key notes in mind to ensure the best results. First, choose your colors wisely. Select shades that blend well together, as this will create a beautiful gradient. Consider using gel food coloring for more vibrant hues—liquid colors can dilute your batter.
Next, be mindful of your baking time. Each layer may require different baking times, so check for doneness with a toothpick. Overbaking can lead to dry layers, which won’t hold up when stacked.
Once your layers are baked and cooled, level them with a serrated knife to ensure a stable, even cake. When it’s time to assemble, use a sturdy frosting, like Swiss meringue buttercream, to ensure the layers adhere well.
Additionally, chill your layers before frosting. Cold cakes are easier to work with and help prevent crumbs from mixing into your frosting.
Lastly, don’t rush the decorating process. Take your time to create a smooth ombre effect, and remember, practice makes perfect! Enjoy the process and have fun with your design, and your cake will surely impress!
Conclusion
You’ve now mastered the art of creating a stunning ombre layer cake! With its vibrant colors and delicious flavors, this cake is sure to impress your friends and family at any gathering. Remember to take your time with each layer and enjoy the process of baking and decorating. So, gather your ingredients, follow the steps, and get ready to serve a beautiful, tasty masterpiece that everyone will love. Happy baking!


