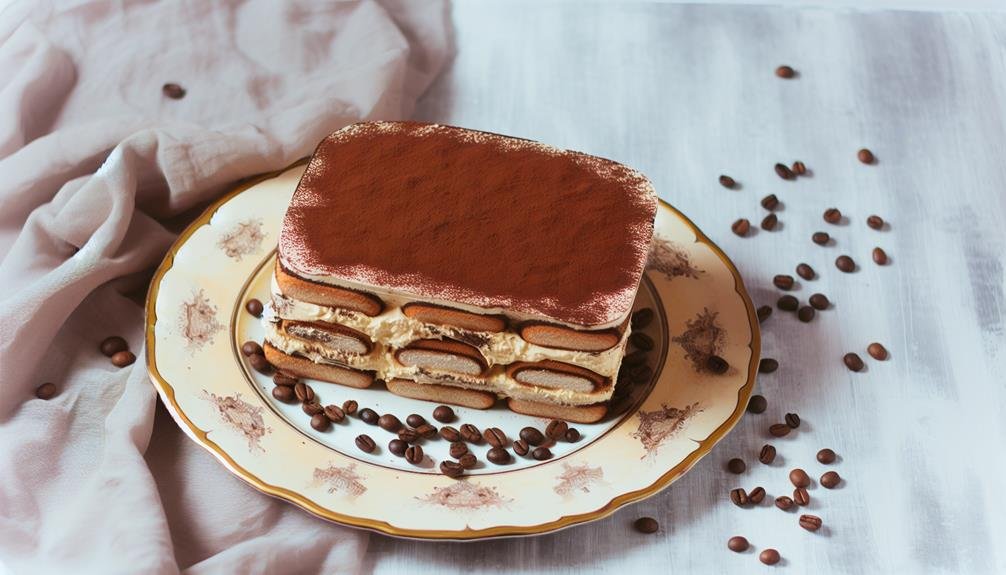
If you’re looking to impress without turning on the oven, a no-bake tiramisu cake might just be the solution you need. You’ll find that this dessert balances the rich flavors of mascarpone and coffee with a light, airy texture that’s surprisingly easy to achieve. By layering ladyfingers dipped in coffee with a creamy mascarpone mixture, you create a treat that’s both elegant and satisfying. But before you start gathering your ingredients, consider a few tips that can elevate your tiramisu to the next level—these could make all the difference in your final result.
Ingredients
To whip up a delicious no-bake tiramisu cake, you’ll need a handful of key ingredients. First, grab about 2 cups of mascarpone cheese. This creamy cheese is essential for that authentic tiramisu flavor.
Next, you’ll need 1 cup of heavy whipping cream. This will help create a light and airy texture for your cake. Don’t forget to have around ½ cup of granulated sugar on hand, as it sweetens the filling perfectly.
For the coffee component, you’ll need 1 cup of strong brewed coffee, cooled to room temperature. You can also add a splash of coffee liqueur for an extra kick, but that’s optional.
You’ll also want 2 packages of ladyfinger cookies, which serve as the cake’s base and provide that classic tiramisu crunch. Finally, gather some unsweetened cocoa powder for dusting the top, giving your cake that signature finish.
With these ingredients ready, you’re all set to create a delightful dessert that’s sure to impress. The combination of creamy mascarpone, coffee-soaked ladyfingers, and rich cocoa will take your taste buds on a delightful journey, making this no-bake tiramisu cake a favorite treat.
Instructions
Begin by preparing your workspace and gathering all your ingredients. You’ll need a large mixing bowl and an 8-inch springform pan.
Start by whipping the heavy cream in the mixing bowl until stiff peaks form. This usually takes about 3 to 5 minutes. In a separate bowl, combine the mascarpone cheese, sugar, and vanilla extract.
Gently fold the whipped cream into the mascarpone mixture until everything’s well incorporated.
Next, brew your espresso and let it cool slightly. Dip each ladyfinger into the espresso for just a second—don’t soak them! You want them to be moist but not soggy.
Arrange half of the dipped ladyfingers in a single layer at the bottom of the springform pan. Spread half of the mascarpone mixture over the ladyfingers.
Repeat the process with another layer of dipped ladyfingers and top it off with the remaining mascarpone mixture. Smooth out the top with a spatula.
Cover the pan with plastic wrap and refrigerate for at least 4 hours, or overnight if you can wait.
Once set, remove the springform pan and dust the top with cocoa powder before serving. Enjoy your delicious no-bake tiramisu cake!
Notes
What should you keep in mind while making your no-bake tiramisu cake? This delicious dessert requires a few important considerations to ensure it turns out perfectly every time. Here are some key points to remember:
- Quality Ingredients: Use fresh mascarpone cheese and high-quality coffee for the best flavor. Your cake’s taste hinges on these two ingredients.
- Coffee Soaking: Don’t soak the ladyfingers too long in coffee. A quick dip is all they need; otherwise, they might become mushy and ruin the cake’s texture.
- Chilling Time: Allow your tiramisu cake to chill for at least 4 hours, or overnight if possible. This helps all the flavors meld together and allows the cake to set properly.
- Serving: When serving, use a sharp knife to cut clean slices. This will help maintain the layers and present a beautiful cake.
Conclusion
In just a few simple steps, you’ve created a delicious no-bake tiramisu cake that’s sure to impress your friends and family. The combination of creamy mascarpone and coffee-soaked ladyfingers brings a delightful balance of flavors. Remember to let it chill for at least four hours to enhance the taste. When you’re ready to serve, dust it with cocoa powder for that perfect finishing touch. Enjoy every bite of this elegant dessert!

