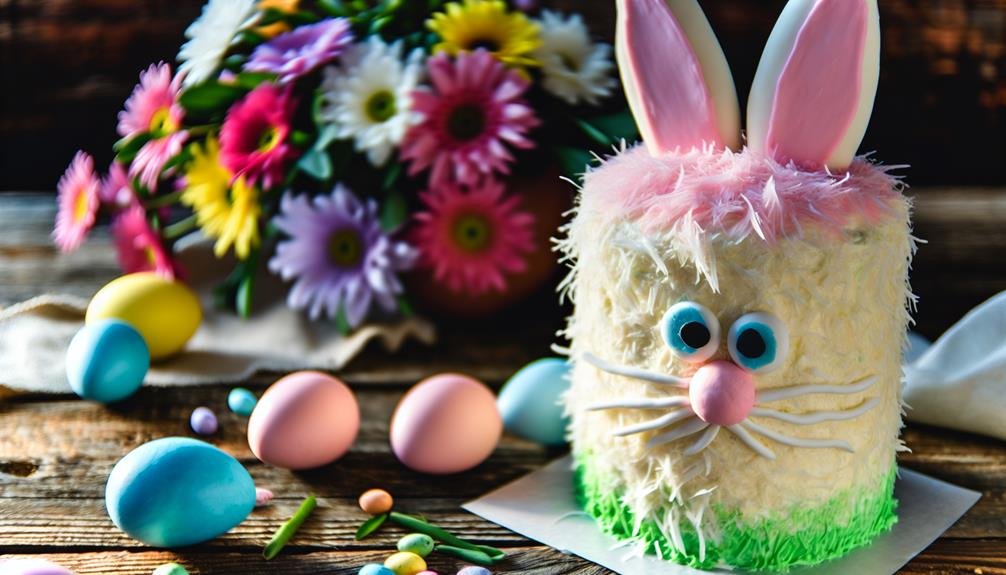
When you’re planning your Easter celebration, an Easter Bunny Cake can be the perfect addition to your dessert table. It’s not just a treat; it’s a fun project that invites creativity. You’ll start by choosing your cake mix—vanilla or chocolate—and shaping the cakes into a charming bunny figure. But the magic really happens when you get to the decorating part. With a few simple ingredients, you can transform your cake into a delightful centerpiece. What are the essential tips and tricks to ensure your cake turns out just right?
Ingredients
Gathering the right ingredients is crucial for creating a delightful Easter Bunny Cake. You’ll need to start with two boxes of cake mix, preferably a flavor you enjoy, like vanilla or chocolate. Add in eggs, vegetable oil, and water as instructed on the cake mix boxes.
Don’t forget to grab some baking spray to ensure your cakes release smoothly.
Next, you’ll need frosting. A large tub of white buttercream frosting works perfectly, but you can also make your own if you prefer. For decoration, pick up some colorful candies, like jellybeans or M&Ms, to add a festive touch.
You’ll also need coconut flakes to create that fluffy bunny fur, along with food coloring to tint some of the frosting if you want a pastel palette.
Lastly, consider adding a few additional items like chocolate chips for the eyes and pink candies for the nose. These small details will bring your cake to life.
With these ingredients in hand, you’ll be well on your way to crafting an adorable and delicious Easter Bunny Cake that’ll impress everyone at your celebration!
Instructions
Once you’ve prepped your ingredients, preheat your oven to 350°F (175°C) and grease two round cake pans with baking spray.
In a large mixing bowl, combine the flour, sugar, baking powder, and salt. Whisk these dry ingredients together until they’re well-blended.
In another bowl, mix the eggs, milk, vegetable oil, and vanilla extract. Gradually add the wet mixture to the dry ingredients, stirring until the batter is smooth and free of lumps.
Now, divide the batter evenly between the two prepared pans. Bake in the preheated oven for 25-30 minutes or until a toothpick inserted in the center comes out clean.
Once baked, remove the cakes from the oven and let them cool in the pans for about 10 minutes. After that, turn the cakes out onto wire racks to cool completely.
Once the cakes are cool, it’s time to sculpt your Easter Bunny! Use one cake for the bunny’s body and the other for the head. Trim the cakes as needed to create the desired shape.
Now, you’re ready to frost and decorate your Easter Bunny cake to bring it to life! Enjoy the process!
Notes
When making the Easter Bunny cake, keep a few key notes in mind to ensure success. These tips will help you achieve a delightful and festive cake that everyone will love.
- Choose the Right Pan: Use a bunny-shaped cake pan for the best results. If you don’t have one, you can also use round pans and carve the shape afterwards.
- Room Temperature Ingredients: Make sure your eggs, butter, and any dairy are at room temperature. This will create a smoother batter and a fluffier cake.
- Don’t Overmix: Once you combine the wet and dry ingredients, mix just until combined. Overmixing can result in a dense cake.
- Decorating Tips: Use coconut flakes for fur, chocolate chips for eyes, and licorice for whiskers to give your bunny character and charm.
Conclusion
In conclusion, making the Easter Bunny Cake is a fun and creative way to celebrate the season. With just a few simple ingredients and easy steps, you can create a delightful dessert that’s sure to impress your family and friends. Don’t forget to add your personal touch with colorful decorations! This charming cake will not only look great on your table but also bring smiles and joy to everyone who enjoys a slice. Happy baking!


