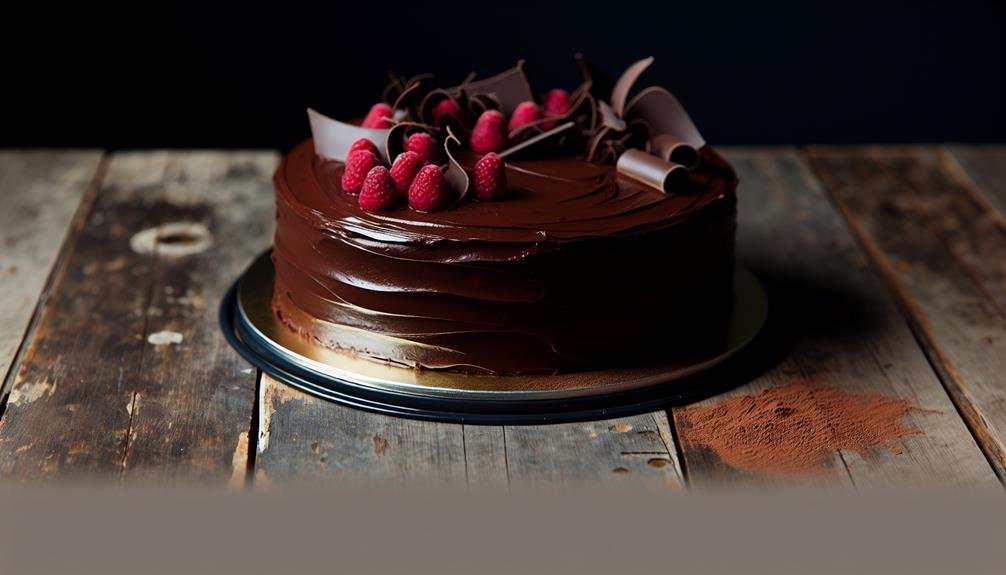
When you think about indulgent desserts, Devil’s Food Cake often comes to mind with its rich chocolate flavor and velvety texture. You might wonder how to achieve that perfect balance of moisture and decadence in your own kitchen. It starts with a handful of simple ingredients you probably already have on hand. Yet, the method you choose can significantly impact the final product. So, what are the key steps you need to pay attention to for a truly remarkable cake that impresses every time? Let’s explore some essential details.
Ingredients
To bake a rich and decadent Devil’s Food Cake, you’ll need a handful of key ingredients that come together to create its signature flavor.
First, grab some all-purpose flour, as it provides the structure for your cake. You’ll also need unsweetened cocoa powder, which gives the cake its deep chocolate flavor. Don’t forget granulated sugar; it sweetens the cake while balancing the bitterness of the cocoa.
Next, gather some baking soda and baking powder. These leavening agents help the cake rise, ensuring it’s light and fluffy despite its rich taste. You’ll need salt to enhance all those flavors and vanilla extract for warmth and depth.
Now, it’s time for the wet ingredients. Use large eggs, which add moisture and richness. Vegetable oil or melted butter will create a tender crumb, so choose based on your preference.
Finally, buttermilk provides acidity, making your cake moist and tender, while enhancing that chocolate flavor even more.
With these ingredients, you’re set to create a Devil’s Food Cake that’s sure to impress. Gather them all, and prepare for a baking adventure!
Instructions
With all your ingredients ready, it’s time to bring your Devil’s Food Cake to life. Start by preheating your oven to 350°F (175°C). Grease and flour two 9-inch round cake pans to ensure your cake releases easily later.
In a large mixing bowl, combine the flour, cocoa powder, baking powder, baking soda, and salt. Whisk these dry ingredients together until they’re well mixed.
In another bowl, cream the butter and sugar until it’s light and fluffy. Add the eggs one at a time, mixing well after each addition. Stir in the vanilla extract.
Gradually add the dry mixture to the wet ingredients, alternating with the buttermilk. Mix until everything is just combined; be careful not to overmix.
Divide the batter evenly between the prepared pans. Bake for 30 to 35 minutes, or until a toothpick inserted into the center comes out clean.
Once baked, let the cakes cool in the pans for about 10 minutes, then transfer them to a wire rack to cool completely. Your Devil’s Food Cake is now ready for frosting or any toppings you desire. Enjoy the process and the delicious results!
Notes
When baking your Devil’s Food Cake, a few helpful notes can enhance your experience and ensure success. Pay attention to these tips for a flawless cake that impresses everyone:
- Use quality cocoa powder: Choose a high-quality Dutch-process cocoa for a richer flavor. Avoid generic brands, as they can affect the taste.
- Measure accurately: Baking is a science. Always measure your ingredients with precision, especially flour and sugar, to achieve the right texture.
- Room temperature ingredients: Make sure your eggs and butter are at room temperature. This helps create a better emulsion and a lighter cake.
- Don’t overmix: Once you combine the wet and dry ingredients, mix just until combined. Overmixing can lead to a dense cake.
- Check for doneness: Ovens can vary in temperature. Use a toothpick to check if your cake is done; it should come out clean or with a few moist crumbs.
Conclusion
Now that you’ve mastered the art of making Devil’s Food Cake, it’s time to indulge in its rich, chocolatey goodness. Whether you’re celebrating a special occasion or just treating yourself, this cake is sure to impress. Remember to savor each moist bite and share with friends or family for an even sweeter experience. So, preheat that oven, gather your ingredients, and enjoy the delicious rewards of your baking efforts! Happy baking!


