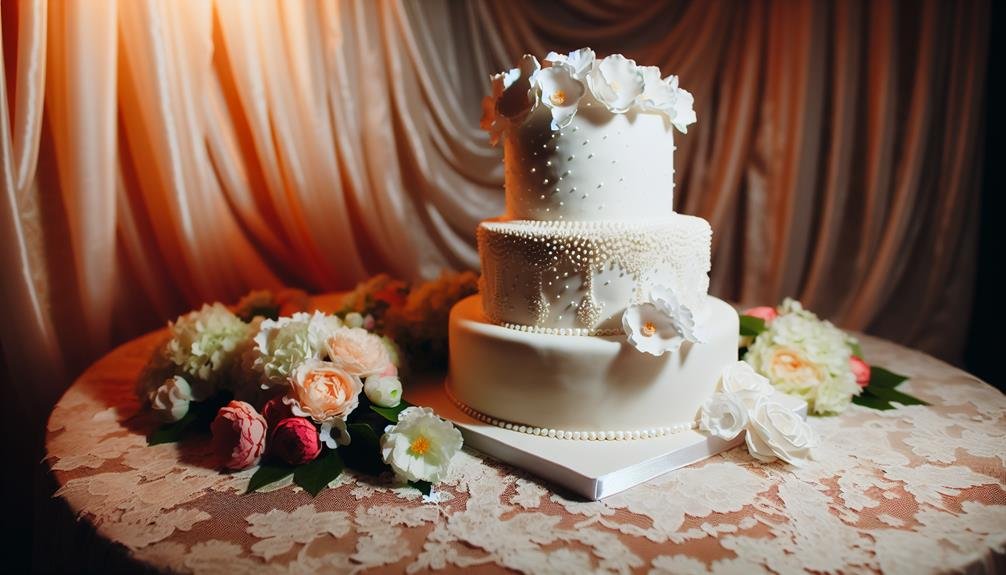
When it comes to crafting the perfect wedding cake, you might find yourself torn between the classic white and a more elaborate tiered version. Each choice has its merits, but understanding the nuances of ingredients and techniques can elevate your baking experience. You’ll want to consider factors like flavor, texture, and presentation, ensuring your cake not only looks stunning but also tastes divine. As you think about these elements, you may wonder how to balance tradition with your personal style—let’s explore the essential steps and tips that can help you create a memorable centerpiece for your special day.
Ingredients
To create a delicious wedding cake, you’ll need to gather several key ingredients. Start with all-purpose flour, which gives your cake that perfect structure.
You’ll also need granulated sugar to sweeten the batter and provide moisture. Don’t forget unsalted butter; it enriches the cake with a rich flavor and a tender crumb.
Next, grab eggs, as they act as a binding agent and add richness. For leavening, you’ll need baking powder, which helps your cake rise beautifully.
Also, include a pinch of salt to enhance the flavors.
For flavoring, consider vanilla extract; it’s a classic choice that complements the cake beautifully. Depending on your preference, you might also want to add almond extract for a subtle twist.
Lastly, don’t overlook the milk, which adds moisture and helps blend the ingredients together smoothly.
Instructions
Begin by preheating your oven to 350°F (175°C) and greasing your cake pans. You’ll need two or three 9-inch round pans, depending on how many tiers you’re making.
In a large mixing bowl, cream together the softened butter and sugar until it’s light and fluffy. This usually takes about 3-4 minutes. Next, add in your eggs, one at a time, mixing well after each addition. Stir in the vanilla extract.
In a separate bowl, whisk together the flour, baking powder, and salt. Gradually add the dry ingredients to the butter mixture, alternating with the milk. Start and end with the dry ingredients, mixing until just combined; be careful not to overmix.
Divide the batter evenly among your prepared pans. Smooth the tops with a spatula and bake in your preheated oven for about 25-30 minutes or until a toothpick inserted in the center comes out clean.
Once done, remove the cakes from the oven and let them cool in the pans for about 10 minutes. Then, transfer them to wire racks to cool completely before frosting.
Notes
Cooling the cakes properly is key to achieving the best results. Once you’ve baked your layers, let them cool in their pans for about 10-15 minutes. This helps the cakes firm up a bit, making them easier to remove.
After that, carefully transfer them to a wire rack to cool completely. If you try to frost them while they’re still warm, the icing will melt, ruining your beautiful design.
If you’re making a multi-tiered cake, remember to level each layer with a serrated knife for a flat surface. This ensures your cake stands tall and steady.
Also, consider using a cake board for each tier; it’ll make stacking easier and more stable.
When it comes to storing your cakes, wrap them in plastic wrap and refrigerate if you’re not frosting them right away. This keeps them fresh.
And don’t forget to let them come to room temperature before serving; it enhances the flavor and texture.
Conclusion
You’ve now got a delicious classic white wedding cake recipe at your fingertips! With its fluffy layers and smooth frosting, it’s sure to impress at any celebration. Remember to follow the instructions closely for the best results, and don’t forget to let it cool completely before decorating. With a little patience and love, you’ll create a stunning centerpiece for your special day that tastes as amazing as it looks. Enjoy every slice!

