When you think about a cake that embodies celebration, the Milk Bar-style Confetti Cake often comes to mind. It combines a moist, fluffy texture with vibrant sprinkles that instantly brighten any occasion. You’ll appreciate how simple ingredients transform into a delightful treat, but the real magic lies in the techniques you use to bring it all together. What you might not know is how a few key steps can elevate your cake from good to unforgettable. Curious about the process? Let’s explore the ingredients and techniques that make this cake a standout.
Ingredients
To make a delicious Milk Bar-style Confetti Cake, you’ll need a few key ingredients. Start with all-purpose flour, which forms the cake’s base and provides structure.
Sugar is essential for sweetness, so grab some granulated sugar and a bit of brown sugar for added moisture and richness. You’ll also need unsalted butter, softened to room temperature, to create that lovely, creamy texture.
Don’t forget the eggs! They’ll help bind everything together and add moisture. For the leavening, pick up some baking powder and baking soda, ensuring your cake rises perfectly. A pinch of salt enhances the flavors and balances the sweetness.
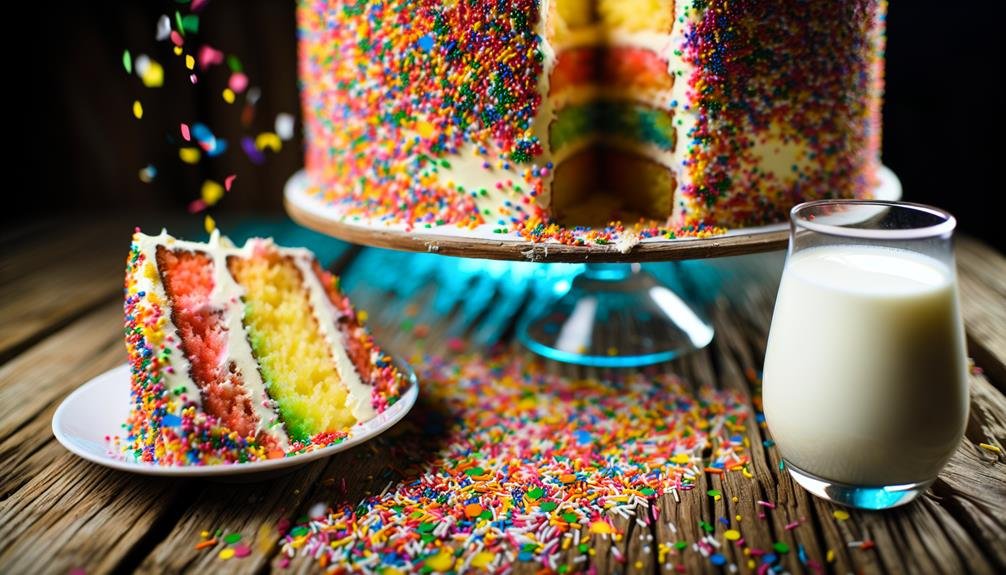
To achieve that signature confetti look, you’ll want colorful sprinkles. Look for classic jimmies or nonpareils, as they’ll add a festive touch.
Lastly, don’t overlook the vanilla extract; it’ll infuse your cake with a delightful aroma and flavor.
Gathering these ingredients will set you up for success. Once you’ve got everything ready, you’ll be one step closer to creating a fun and tasty treat that’s sure to impress family and friends alike.
Enjoy the process of making this whimsical cake!
Instructions
Begin by preheating your oven to 350°F (175°C) and greasing two 8-inch round cake pans.
In a large bowl, mix the dry ingredients: flour, baking powder, and salt. In another bowl, cream together the butter and sugar until light and fluffy. Add the eggs one at a time, mixing well after each addition, then stir in the vanilla extract.
Gradually combine the dry ingredients with the wet ingredients, alternating with the milk. You want a smooth batter, so mix until just combined. Finally, fold in the rainbow sprinkles for that confetti effect.
Now, it’s time to pour the batter into the prepared pans. Make sure to:
- Divide the batter evenly between the pans
- Smooth the tops with a spatula
- Tap the pans gently on the counter to remove air bubbles
Bake for 25-30 minutes, or until a toothpick inserted in the center comes out clean.
Let the cakes cool in the pans for about 10 minutes, then transfer them to a wire rack to cool completely. Your confetti cake is well on its way to being a showstopper!
Notes
Once your cakes have cooled, keep a few notes in mind to ensure your confetti cake turns out perfectly.
First, measure your ingredients accurately. Baking is a science, and even slight variations can affect the texture and flavor. Use a kitchen scale if possible, especially for the flour and sugar.
Next, don’t skip the creaming step. Creaming the butter and sugar until fluffy incorporates air, giving your cake its light and tender crumb. Make sure to scrape down the sides of the bowl to achieve an even mix.
When adding the sprinkles, fold them in gently. Over-mixing can cause the colors to bleed, which mightn’t give you that vibrant confetti look you want. Use high-quality, vibrant sprinkles for the best visual effect.
Also, let your cake layers cool completely before frosting. This prevents the frosting from melting and sliding off.
For a fun twist, try adding a simple syrup to the layers before frosting; it keeps the cake moist and adds extra flavor.
Conclusion
You’ve just created a delightful Milk Bar-style Confetti Cake that’s sure to impress at any celebration. With its moist layers and vibrant sprinkles, this cake is not just a treat for the taste buds but also a feast for the eyes. Enjoy each slice and the joy it brings to your special occasions. Remember, it’s all about having fun in the kitchen, so don’t hesitate to experiment with flavors and decorations next time!